Manage titles and set audience levels
If you are a site-level administrator with permission to manage titles, you can view a book's details, edit its title, add a title tag, filter titles by classroom, set an audience level, and resolve duplicates.
|
Notes:
|
To manage audience levels for titles:
- Log in to Destiny as a site-level administrator.
- From the primary navigation bar, select
 > Classroom Library. The Classroom Directory page appears.
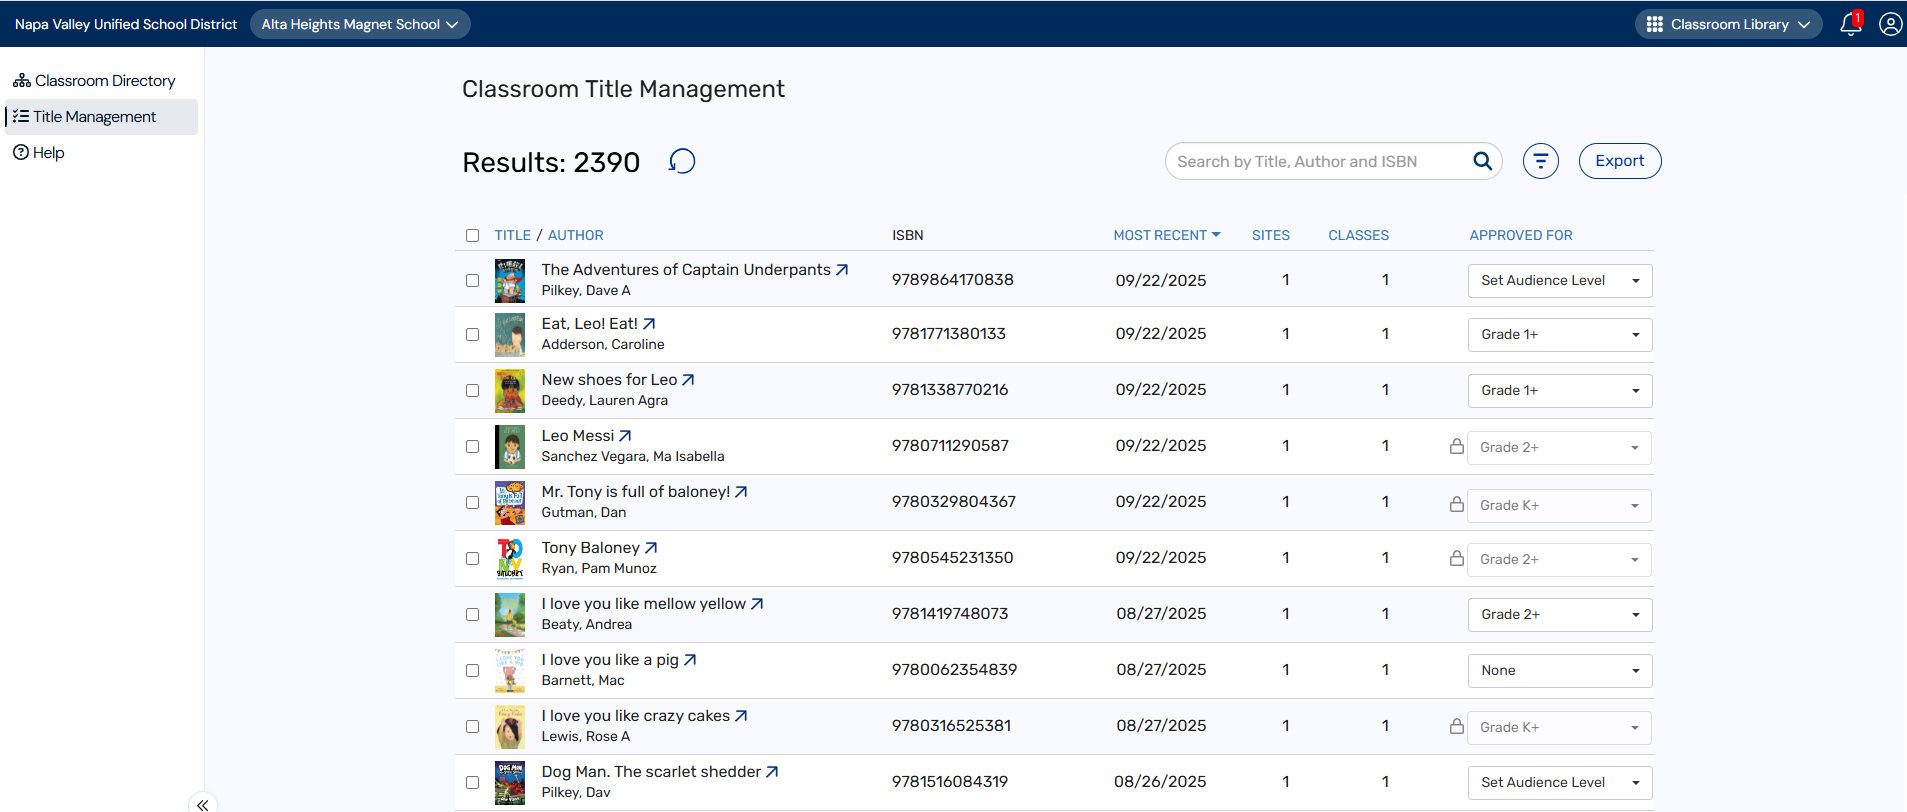
 - From the sidebar, click Title Management. The Classroom Title Management page appears.
- Do any of the following:
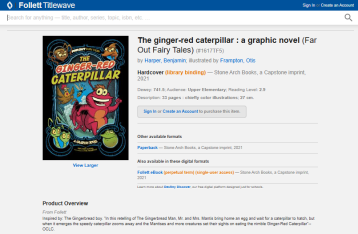
If you want to... Then... View title details (in Titlewave®) Do one of the following:
- Next to the desired title, click
 .
. - Click a title. From the pop-up, click the title or .
Titlewave opens to the title details page.
Notes:
- The icon appears next to all titles with an ISBN. If a title's details are unavailable in Titlewave, a message lets you know no Titlewave matches were found.
- If you edit a title, the connection to Titlewave will remain, regardless of any changes you make to the title's information.
View a book's location Click a title. Details of the book's location – including the school, classroom, and class grade – appear.
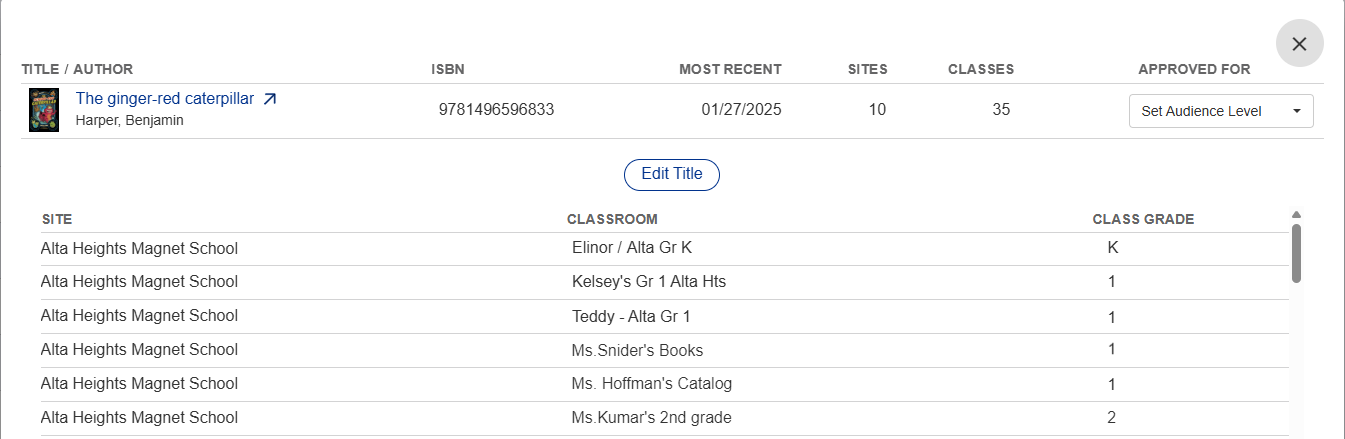
Edit a title - Click a title.
- From the pop-up, click Edit Title.
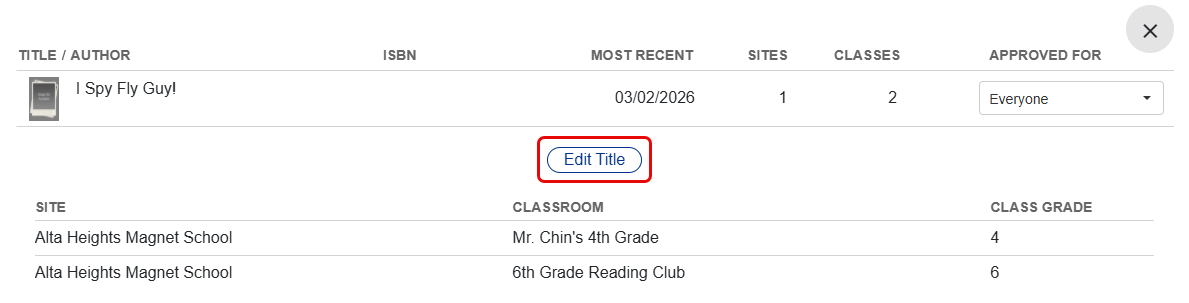
A pop-up appears.
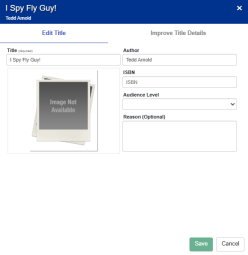
- Do one of the following:
- From the Edit Title tab:
- Enter or edit the desired information in the fields.
Note: You can select an audience level for a title, and add a reason (optional).
- Click Save.
- Enter or edit the desired information in the fields.
- From the Improve Title Details tab:
- Select the desired cover image, or click This!.

Notes:
- Click
 to view a title's details, such as classification, reading level, and interest level.
 - A title's details and cover image come from Titlewave.
- Click
- Click Update Info.
- Click Save.
- Select the desired cover image, or click This!.
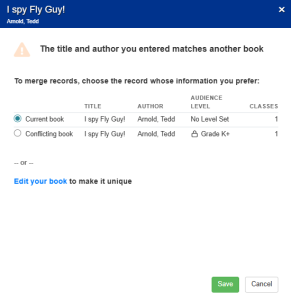
Note: If your changes result in a duplicate title record, you can merge titles. From the pop-up that appears, select the record you want to keep, and then click Save.
- From the Edit Title tab:
Add a title tag - Click a title.
- From the pop-up, click Edit Title.

A pop-up appears.
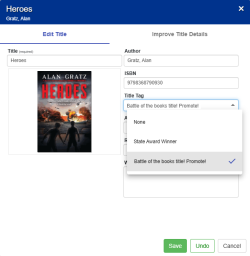
- From the Title Tag drop-down, select the desired tag.
- Click Save.
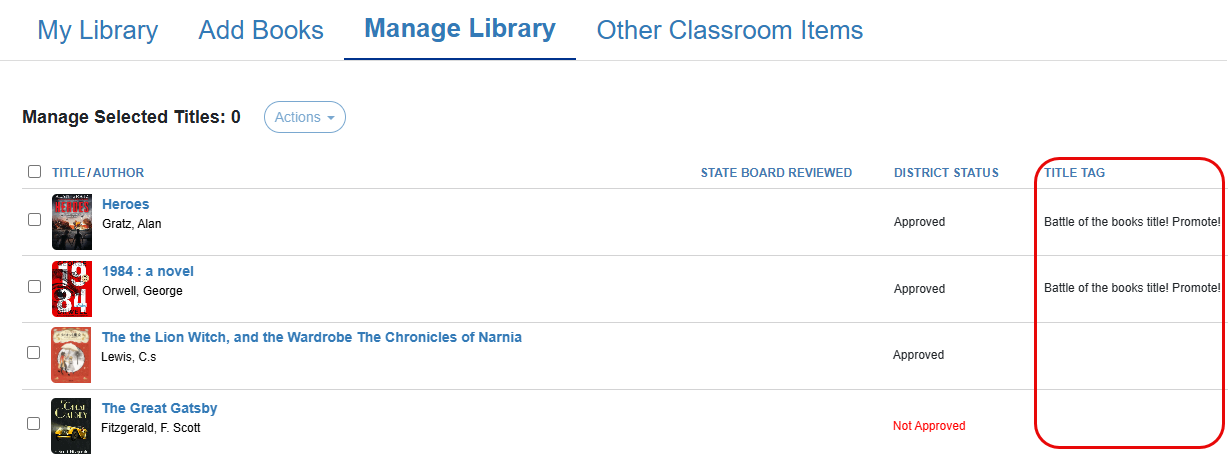
Note: Teachers can view any tags you assign on the Manage Library tab.
Delete a title - Click a title. A pop-up appears.
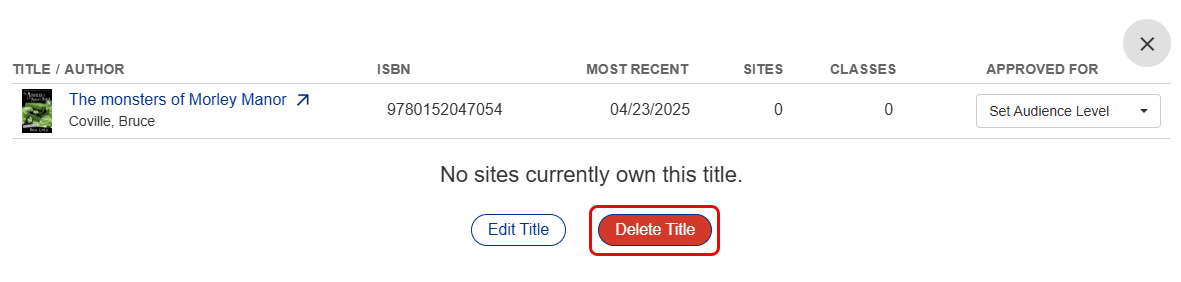
- Click Delete Title.
Note: You can only delete unused titles.
Enter a title, author, or ISBN in the field. A list of search results appears.
Notes:
- When searching by title or author, you can omit punctuation. For example, 'babysitters club' instead of 'baby-sitters club' or 'jk rowling' instead of 'j.k. rowling'.
- You can search for titles with 10-digit or 13-digit ISBNs. Titles with 10-digit ISBNs are automatically converted.
- Search results remain until you click
 or enter another search term in the field.
- Click
 .
. - Do either of the following:
- To find records that might be duplicates, select the View Potential Duplicate Titles checkbox.
Note: When you select this option, all other filters will be disabled. To restore your previous filters, deselect the checkbox.
- To filter by Date Added, Approved For Audience Level, Interest Level, Site, or Incomplete Titles, click
 next to the filter you want.
Notes:
- To see all titles in a specific classroom library, next to the site name, click . Then, select the checkbox(es) for the desired classroom(s).
- The Incomplete Titles filter lets you find records missing an ISBN, an author, or both.
- To see all titles in a specific classroom library, next to the site name, click
- To find records that might be duplicates, select the View Potential Duplicate Titles checkbox.
Export titles
Click Export. The CSV file downloads to your browser's Downloads folder.
Note: To export a specific list of titles, select the checkboxes next to the titles you want to include. Then, click Export.
Sort titles by date
In the MOST RECENT column, click the drop-down to change the sort order.
Set an audience level for a title(s) and add a reason (optional)
Note: When you set an audience level (and reason) for a specific title, you are assigning it to every copy in your district. The SITES and CLASSES columns show you the number of schools and classrooms with that title.
Do one of the following:
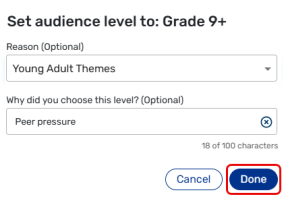
- To set the audience level for a single title, in the APPROVED FOR column, choose an option from the drop-down.
- From the pop-up, select a reason (optional) from the drop-down.
- Type a description (optional) in the field.
- Click Done.
- To set the audience level for multiple titles, select the checkboxes next to the desired titles, and then click Set Audience Levels.
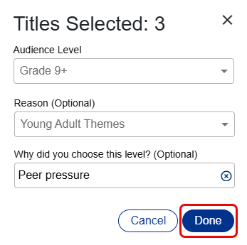
- From the pop-up, use the Audience Level drop-down to select a grade level.
- Use the Reason (optional) drop-down to select a reason.
- Type a description (optional) in the field.
- Click Done.
- Next to the desired title, click