Access District Classroom Library Manager
You can start a classroom library by accessing District Classroom Library Manager from any page in Destiny.
|
Notes:
|

To start a classroom library:
- Log in to Destiny.
- From the primary navigation bar, select
 > Classroom Library. The Welcome page appears.
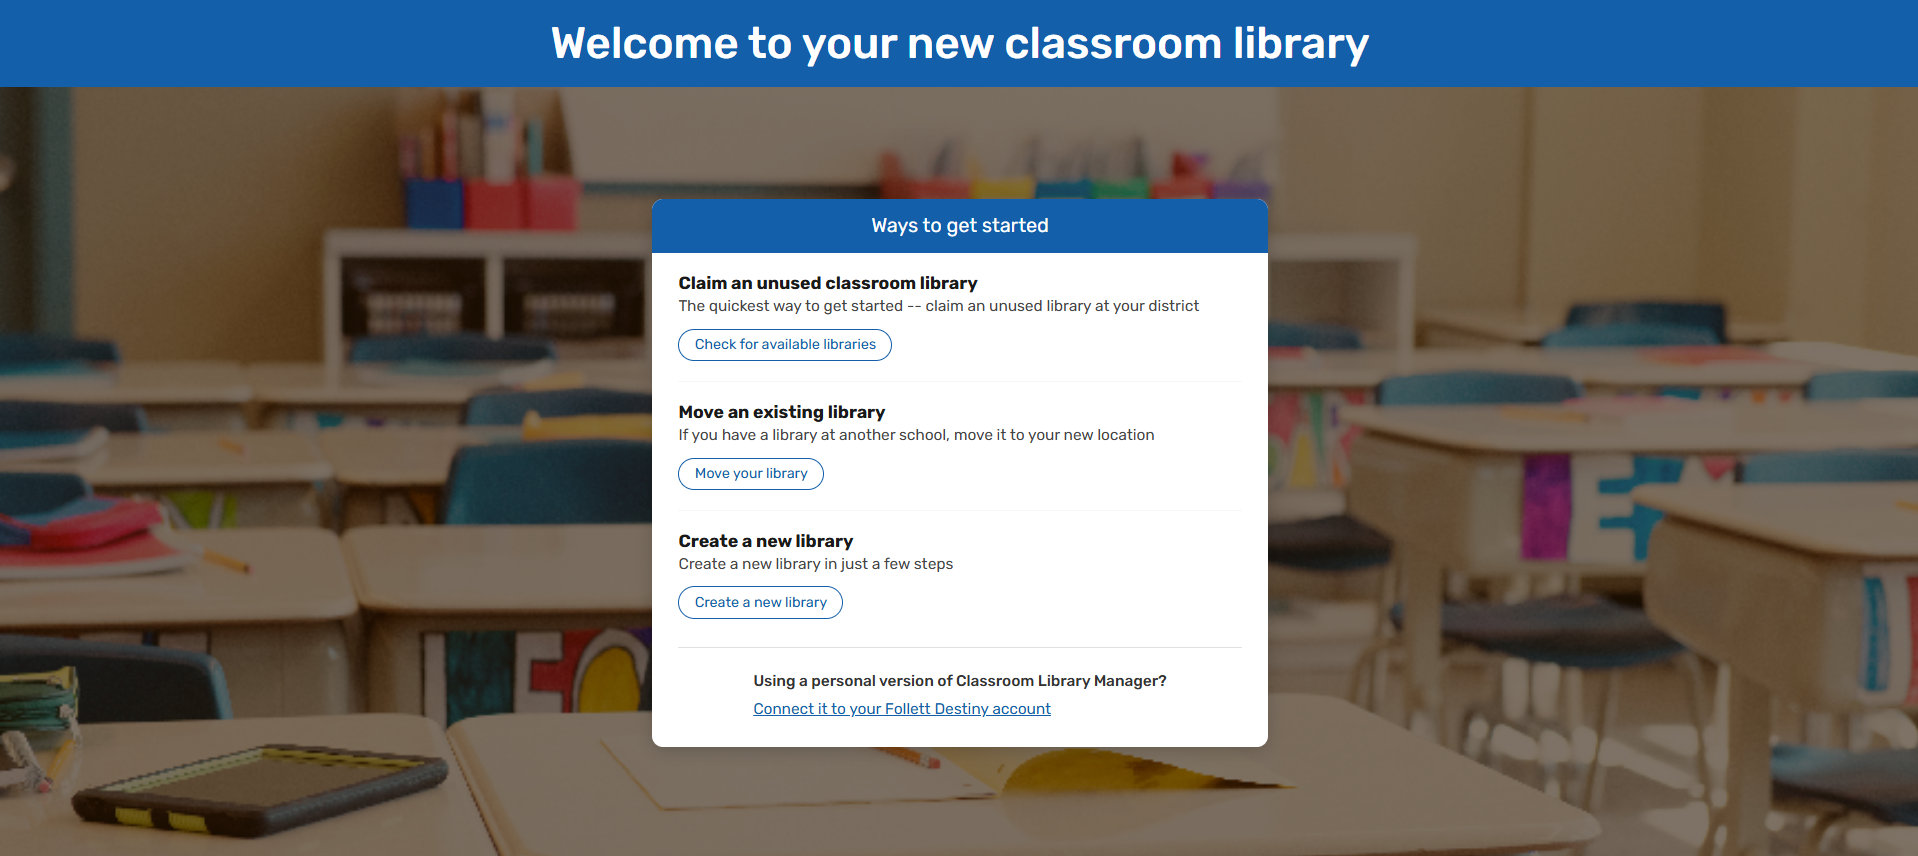
- Do any of the following:
If you want to... Then... Claim an unused classroom library
See Claim a library.
Move an existing library
Create a new library
See below.
Link your personal library to your Destiny account
To create a new library:
- Click Create a new library. District Classroom Library Manager opens.

- Use the following table to fill in the fields:
Field Description Library User Name (required)
Your last name appears by default. This is only visible to you.
Student Kiosk Password (required)
For students to access the classroom library from a dedicated device, you must create a kiosk password.
Note: A password is required, even if you choose not to use a student kiosk.
Library Display Name (optional)
Appears when you share a public link to your library. For example, Mr. Chin's 3rd Grade or Ms. Cassidy's Library Books.
Primary Grade (required)
Select your primary grade. Country (optional)
Select your country. City (optional)
Appears by default. This is the same as your Destiny account. State/Province (optional)
Appears by default. This is the same as your Destiny account. Your Title / Role (optional)
Select the option that best matches your title or role. - Click Done.
|
Notes:
|